
How I Finished My Soundproof Drum Studio — DIY Acoustics, Interior Build & Drum Setup (Pt. 2)
This article continues where Part 1 left off — after the full soundproof shell (room-within-a-room) was completed. In this phase, the build shifts from structural work to making the studio functional, inspiring, and ready for drums and recording.
Here we got to finally work on the more "fun" part: work in dry and clean premieses with a floor, creating an entire DIY acoustic treatment build, and finally setting up the drum recording space for the first time.
🎬 Build Pt. 2 — Interior, Acoustics & Drum Setup
Finishing the Interior After the Soundproof Shell
Once the ceilings, walls, resilient channels, windows, and doors were installed and sealed, and the walls were painted, the space finally started to look like a real studio space to be worked on. The rest of the build process that comes after the soundprooding part begins at this moment — with the structural work and wall painting behind, and the practical studio-building ahead:
- Installing floor
- Installing internal trims, sealing gaps, and finishing the door frames
- Completing the entrance area and bathroom surfaces
- Finalizing the HVAC heat pump and ventilation system connections
Electrical Work, Lighting & Cable Routing
The electrical installation was carefully planned to avoid compromising isolation, while still making the studio practical:
- Surface-mounted cabling to protect the decoupled shell
- Running audio, power, and ethernet lines and setting their routings before casing them up
By this stage, the room became functional — but untreated. Which led to one of the other probably most relavant part part of the entire process.
Building All DIY Acoustic Treatment
The acoustic treatment in this studio was entirely built by hand — all designed for drums live tracking and recording:
- Treatin mic early reflections
- Deep porous bass absorber "traps" in all corners
- Gobos for flexible recording setups and testing
- Ceiling clouds positioned above the drum kit
- Ceiling clouds positioned above lounge / mixing area

All of these DIY builds are shown step-by-step inside the course — structure, materials, mounting, and installation in the decoupled room.
Entrance, Bathroom & Utility Room Finishing
These smaller sub-rooms required proper finishing too, sealing, air channel routing.
- Finishing the bathroom walls and flooring
- Adding proper code eligible air ventilation solution to the bathroom / utility area and entrance as well
- Finishing trims to walls and doors
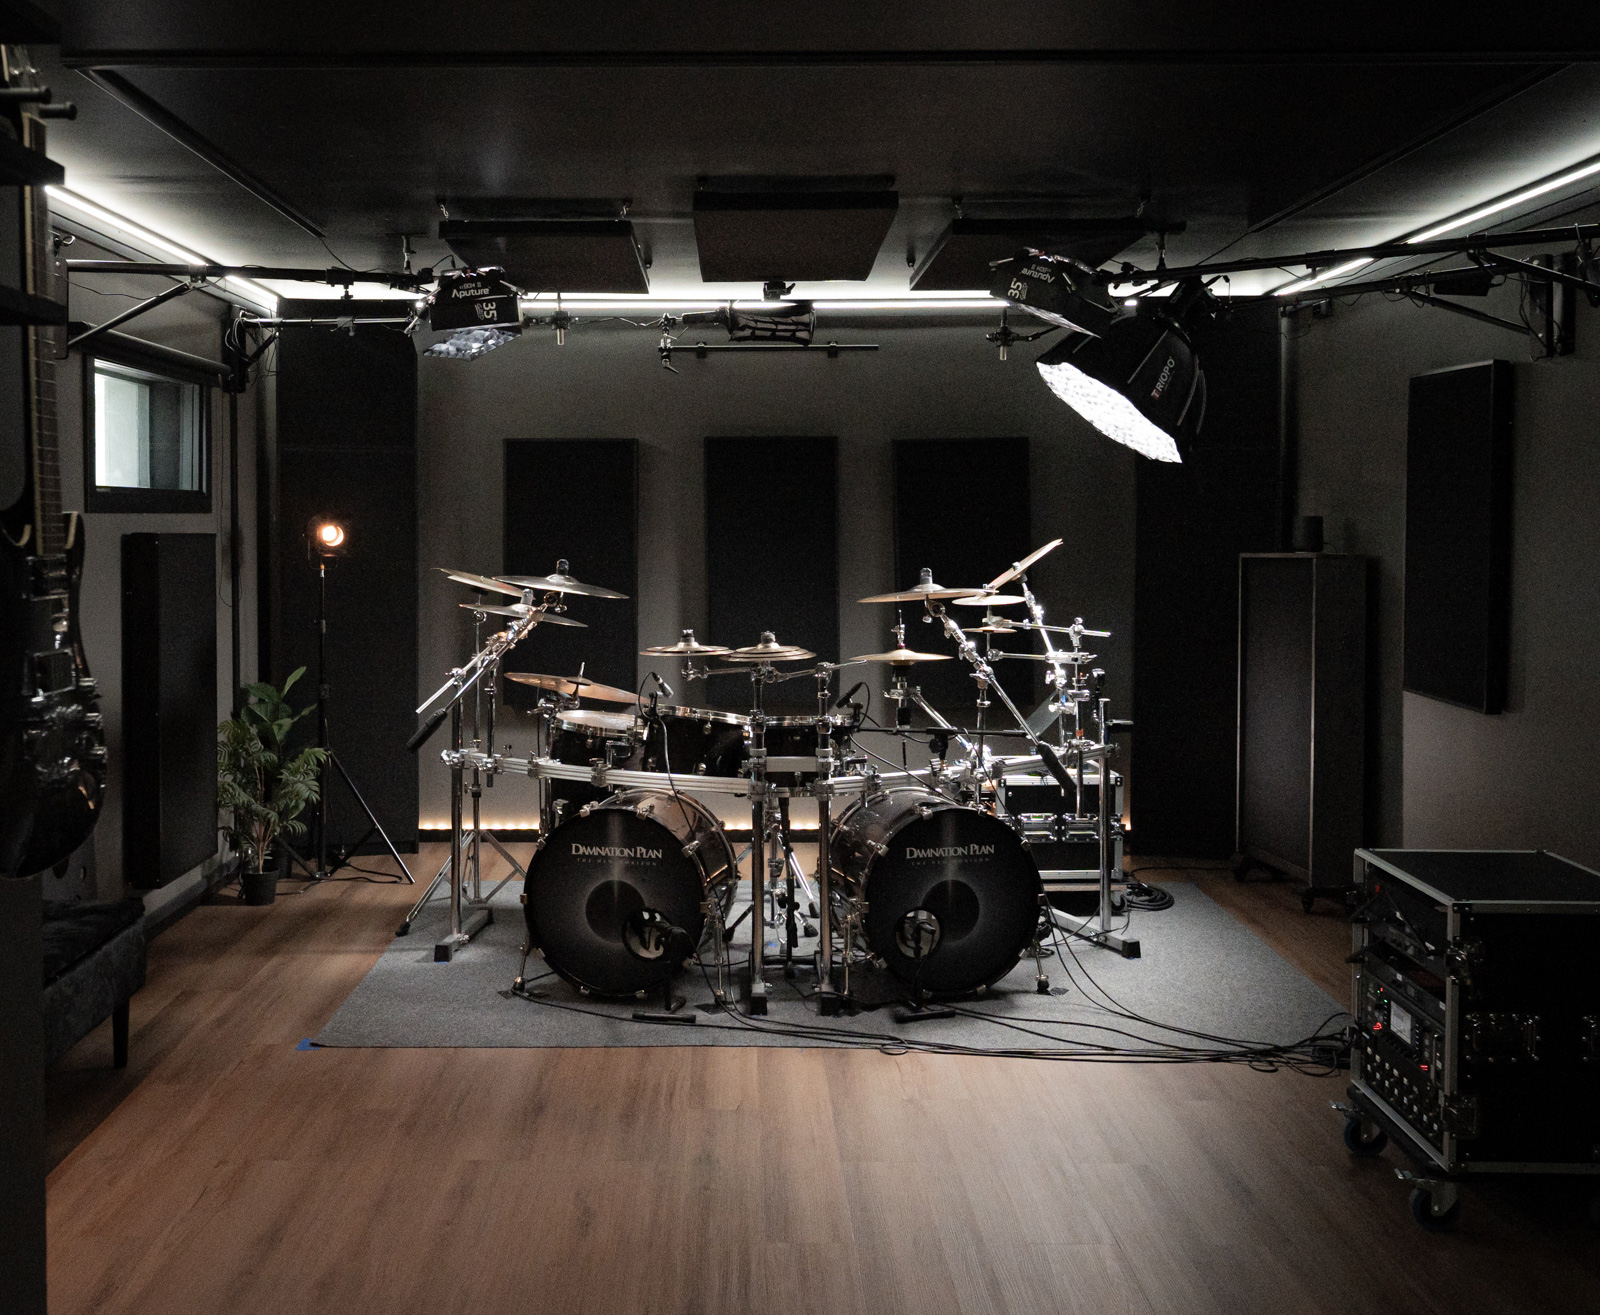
Setting Up the Drum Recording Space
- Drum kit positioning based on room geometry
- Cable management and mic routing
- Testing the room after acoustic treatment

Want the Full Step-by-Step Build?
The complete course shows every step of both Part 1 and Part 2 — all materials, decisions, explanations, pro-reviewed methods, and the full acoustic treatment builds.
👉 Garage To Soundproof Studio Blueprint — Full Build Course
Thanks for reading!