
How to Build a Soundproof Drum Room in a Detached Garage (Room-Within-a-Room) — Real-World Build + dB Sound Test
If you’ve been searching “how to build a soundproof drum room” or “soundproof drum studio in a garage”, you’ve probably noticed two things: (1) most advice is either theoretical, or (2) it turns into a generic material shopping list (3) without explaining and showing what exactly how different solutions are done, and everything you need to take into consideration.
This post is a practical, real-world overview of the approach I used and key aspects that need to go right when building a soundproof drum / recording studio inside a detached garage using a room-within-a-room sound isolation structure. I’ll link to the actual build videos from my build to the article so you can see the build happening on site in context.
Who This Guide Is (and Is Not) For
This guide is for drummers and musicians who need to contain real drum, metal / rock guitar cabinet volumes, full on singing volumes — not just reduce noise slightly.
- ✔ Detached garages or standalone buildings
- ✔ Heavy-handed double bass drums or rock / metal amps
- ✔ Determined people who need maximal sound isolation
This is not a guide for:
- ✘ Apartments or shared walls (priciples work, but there are different aspects that need additional care)
- ✘ Foam-only or quick fixes
- ✘ Cheap “sound treatment equals soundproofing” solutions
Pre-plan and build it right (Build it once)
Building a soundproof studio / room with a room-within-a-room sound isolation is a massive project. In addition to the actual building phase and its various aspects and details that need to go right in order to build the soundproof studio / room effectively, there's also wide range of other aspects that will determine how successful and how long lasting your soundproof build will be. If you ever consider to also sell your property with the soundproof build, you will need to get permit for the build. The permits are applied before the build begins - so make sure you know the entirety of the build from all of its aspects before you start your build, or at least that's what I can wholeheatedly recommend if you want to save time, stress and money in your build. In addition to building the sound isolation succesfully.
As a generic rule of thumb from my experience, you should have the whole picture figured and planned preferably no later than months (6) before your build, unless you want to second guess and stress, and wait during your build - which will also end adding up costs to the build by several hundreds or thousands. This is not to scare you off, but to give a realistic picture from someone who's been there and done it. I want to help as many as possible to succeed in their soundproof studio builds, as I know how stressful my own project was and what I went to through, in order to succeed in it, and do it under the usual budget estimations without still cutting any corners.
Hiring professionals is expensive, and if you wish to get your build permit approved you will need to hire certain professionals to your project anyway. At my build course, I've documented and put my entire build out there showing you all the solutions exactly as they were done, verified by professionals and also permit approved. This will get you very close to end result with a professionally verified baseline solutions presented and explained in detail. It's a real world showcase of my entire hybrid DIY soundproof studio build, along with soundtests showcasing how the isolation works in reality in terms of dBs passed through the build.
Quick reality check: “soundproof” vs “acoustic treatment”
Soundproofing (sound isolation) is about how much sound escapes the room (and how much sound gets in). Acoustic treatment is about how the room sounds inside the room (reflections, low-end buildup, clarity, decay).
In a drum room, you usually need both — but in the correct order:
- Soundproofing first: build the isolation structure (the “shell”).
- Acoustic treatment after: tune the room so it’s usable for playing and recording.
Proper soundproofing is a throughout working system
Successfull soundproof room / studio is a sum of a complete system where the final result and its effectiveness depends on:
- Structure (decoupling + air gaps)
- Mass (layers that reduce airborne transmission)
- Airtight detailing (seams, penetrations, weak points)
- HVAC and ventilation strategy (pathways and airflow without destroying isolation)
- Execution quality (small mistakes can lose big isolation)
- Condensation and building health (make a build that last decades)
If any one part is ignored, the whole system suffers. You also want to get all right on the first go, as changing a closed structure after its been built, will be very expensive and time consuming.
What “room-within-a-room” means (and why it’s the go-to for drums)
For loud sources like drums, the most reliable approach is to create an isolated inner room inside an existing external room structure. In practice, that means the inner room is built so it does not rigidly connect to the outer building structure wherever avoidable, that's achieved by using different decoupling methods.
The way sound travels, is basically through:
- Airborne sound through open air
- Structure-borne vibration (what travels through framing, slabs, and connections) - in case of drums, this will be put under an extreme test especially through lower frequencies of the bass drum(s).
Phase 1: planning before you build anything
This phase decides how successful (and how expensive) the project becomes. Before you touch tools, you want clarity on:
- What you’re isolating (drums are an extreme source) determing the level what's needed for sound isolation
- Where your weak points will be located (doors, windows, ventilation, penetrations) and how to tackle them
- What your environment requires (neighbors, distance, suburban vs rural)
- Know to build in a way that you can adapt or extend later if needed (future-proofing)
- How to build different segments and solutions in your build most effectively (structural choices, sealing, air channels)

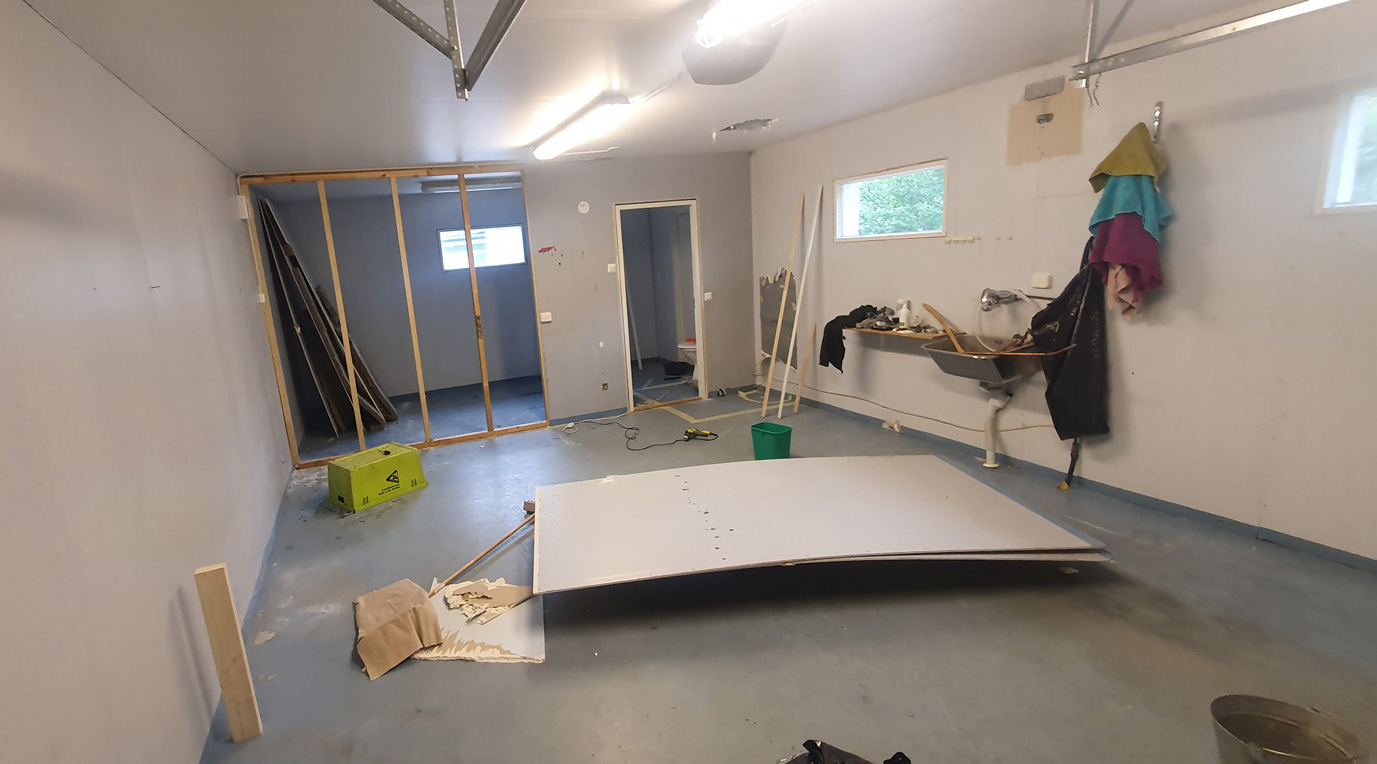
"Bare garage space before the studio build began, a standard half warm Nordic garage
You can watch a public YouTube summary overview of the main phases of the build as it proceeded, along with this “thinking framework” in this video:
Phase 2: building the isolation shell (structure + mass + sealing)
This is the most demanding and time consuming “soundproofing” phase — building the inner room so it can actually contain drum volumes. High-level, this includes:
- Inner framing approach for walls and ceiling (room-within-a-room)
- Deciding on the floor, door and window approaches to achieve your sound isolation goal
- Air gaps and avoiding rigid connections and pathways where possible
- Layering and mass strategy
- Sealing and airtight detailing
- Using the most optimal products to achieve maximum sound isolation with best cost efficiency
- Routing penetrations correctly (electricity, ventilation paths, plumbing etc.)
- Taking every possible aspect into consideration, so your build is able to deal with e.g. condensation
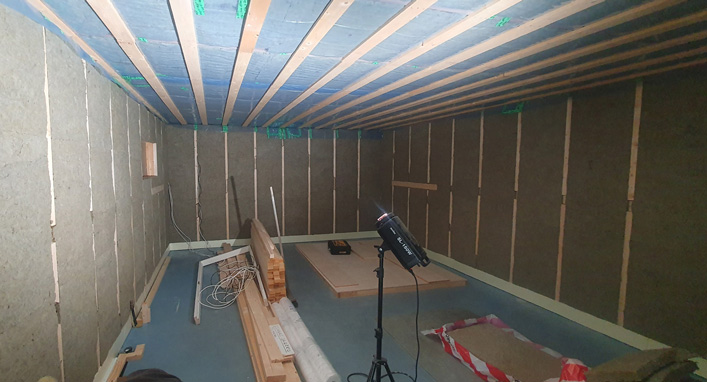
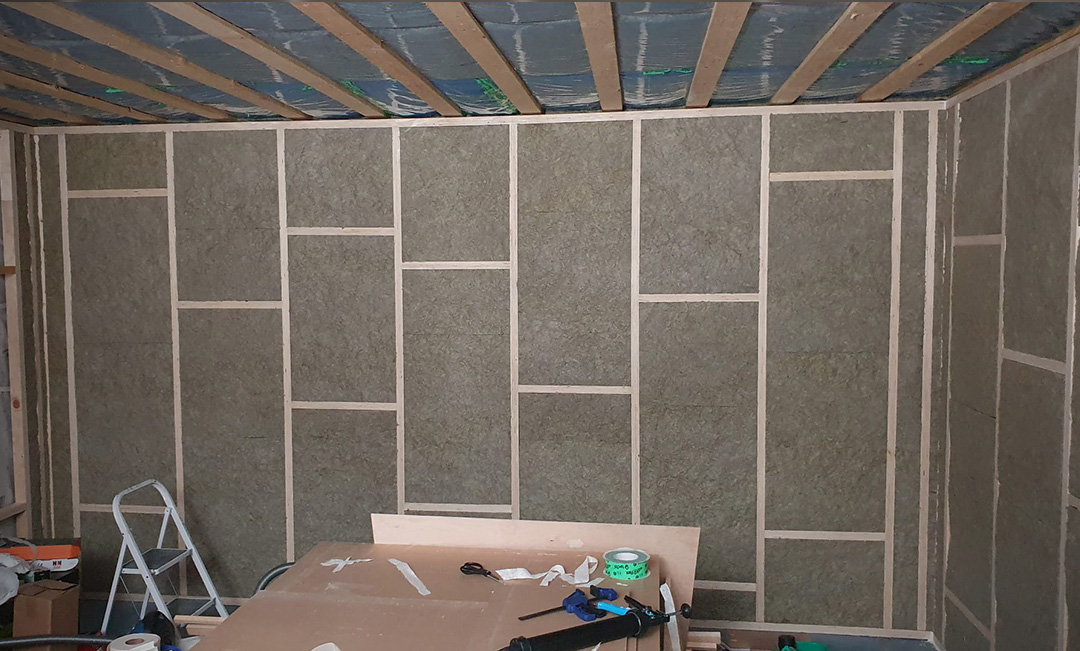

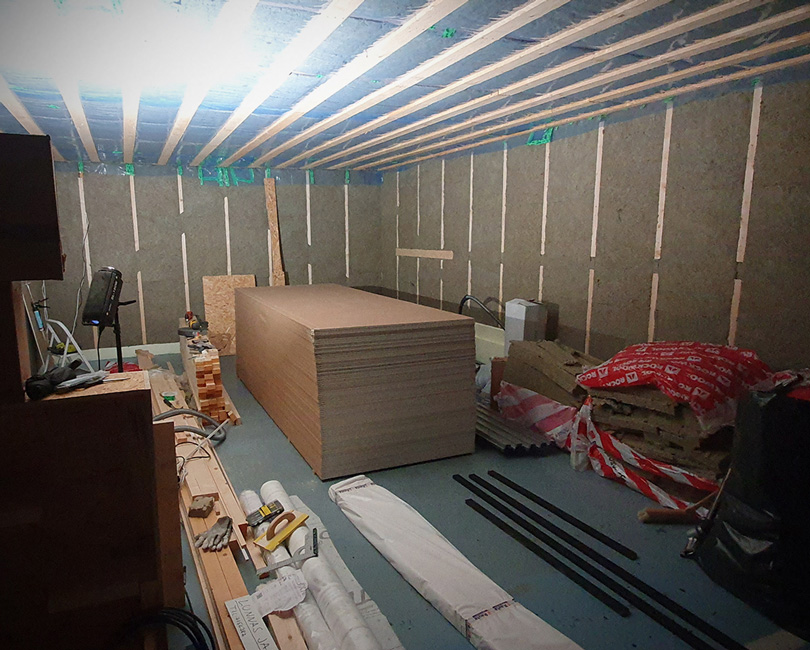
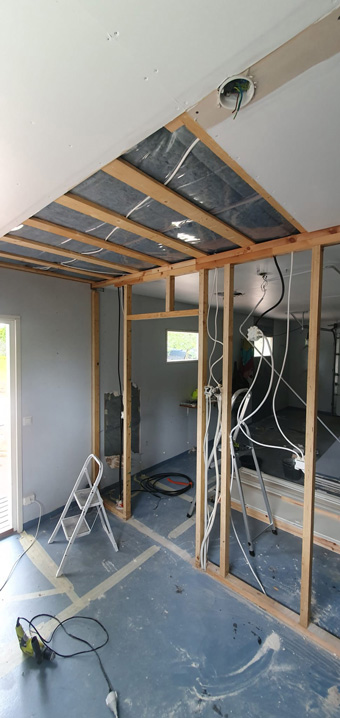
Scenes from the room within a room build phases
This is also where projects often fail, because details feel “minor” while you’re building — but they define your real-world isolation later, and how long lasting your build will be.
Ventilation: the most underestimated part of soundproofing
A soundproof drum room must still be:
- Safe and enjoyable to spend hours in
- Moisture-controlled
- Temperature-stable
- Properly ventilated without opening a sound leak
- Able to deal with condensation (building health)
The exact strategy depends on your building and environment, but the important concept is: Airflow and its routing has to be designed as part of the soundproofing system, not added as an afterthought.
Phase 3: making the room usable (floors, electrical, painting, mounts)
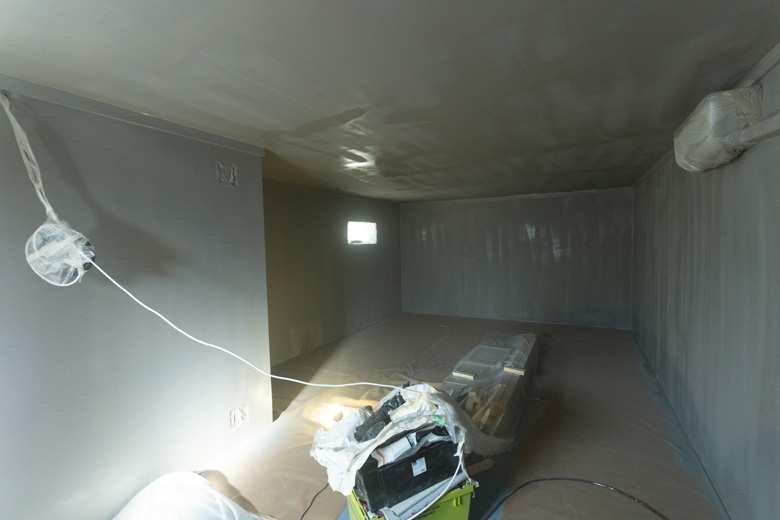
Painting the finished room within a room structure from inside
Once the isolation shell is complete, the project shifts into “use and finish” mode for the interiors:
- Painting walls and ceiling
- Trims
- Installing flooring
- Installing electricity
- Mounting solutions that respect the decoupled structure
This phase matters because it’s easy to accidentally compromise isolation after you’ve already done the hard work. Again with proper pre-planning you are able to save significant amounts of money in your build.
Footage from the more “practical build site” finishing side of my build is shown more in the next part of the build series:
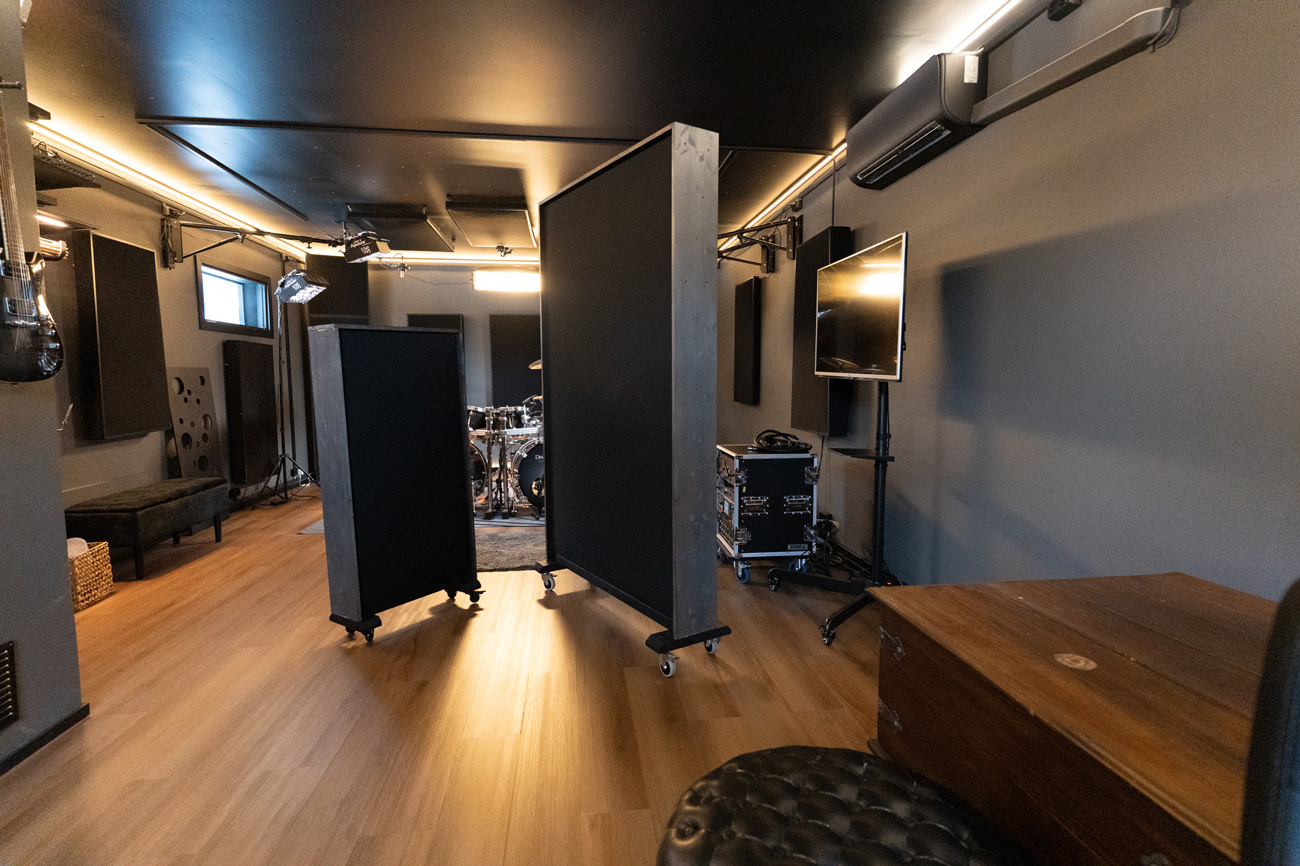
Phase 4: acoustic treatment (after soundproofing)
After soundproofing is done, the room will still sound harsh or uncontrolled inside. That’s where acoustic treatment comes in:
- Wall panels and placement strategy
- Ceiling clouds
- Bass trapping approach
- Gobos / movable elements
- Mounting treatment without compromising decoupling
Painting the finished room within a room structure from inside
Acoustic treatment doesn’t make the room more soundproof — it makes it more usable, clearer, and more enjoyable to play and record in. Acoustic panels can also work as part of the interior decoration, and it doesn't need to be expensive to achieve that.
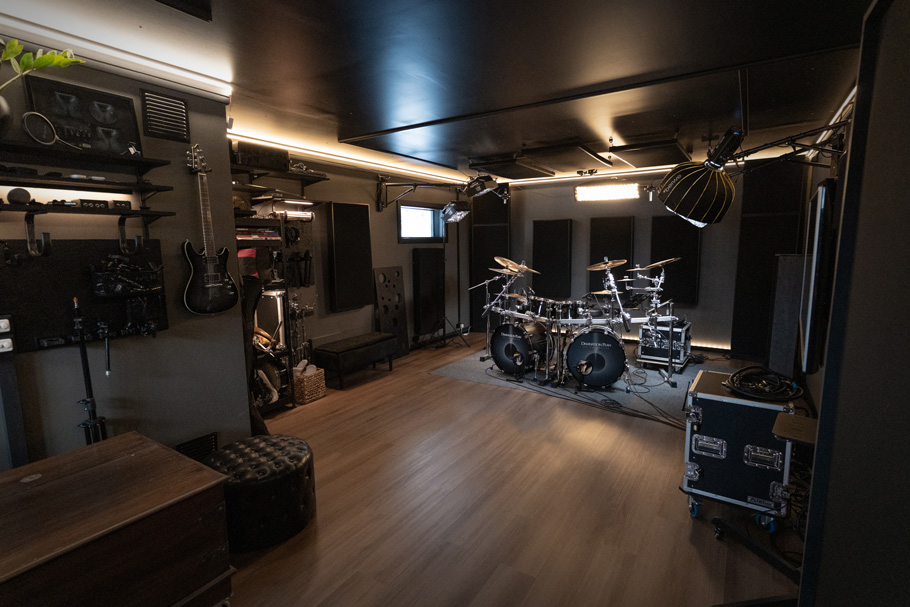
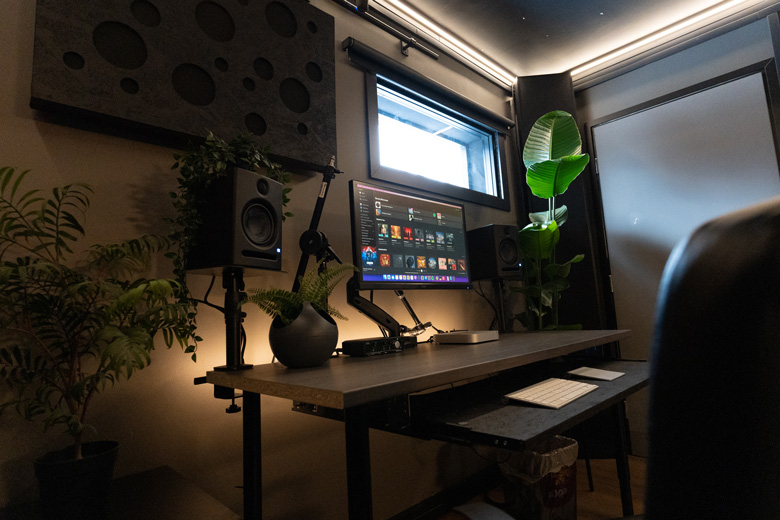
The finished standalone soundproof drum / home studio with a creatively inspiring mood
Real-world result: dB sound isolation test (full-volume heavy-handed drums)
A common skeptic question is: “Okay, but does it actually isolate real drums?”
Below is a real-world sound isolation test from this exact detached garage studio I built with this approach — using full-volume, heavy-handed playing in quiet outdoor conditions, measured with a standard SPL sound meter, shot on video comparing sound levels inside and outside.
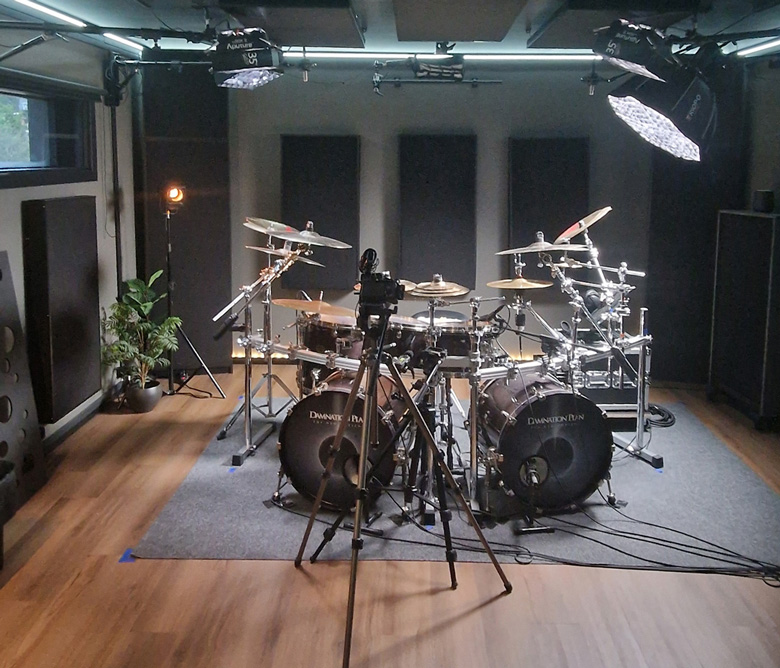
Shooting and measuring the sound dB test with maximal drum sound generation
Cost expectations (and why drum-level isolation isn’t “cheap foam”)
Budgets vary widely depending on: Room size, existing structure type, material choices, and how much work you do yourself, how much you are able to get the plan approach locked before you involve professionals e.g. for permits. For drum-level isolation, a realistic DIY / hybrid budget can commonly land somewhere in the 10–40K+ € range - this is, without making mistakes.
In my case, this 43 m² multi-room detached garage studio was built within roughly a 20–30K € budget (excluding my own labor time), without cutting corners — following permit requirements, maintaining building health, and focusing on real-world isolation performance. This was the result of my extensive research and pre-planning, and multiple consultations with professionals. At the course side I'm sharing how I was able to do this in this budget, covering all the ways how you can build your soundproof room too in as low budget as feasible without compromising on the quality side, while still doing in by the code.
Want the full blueprint (watch Episode 1 for free)?
If you’re planning your own soundproof drum room and want a proven real-world baseline you can follow or adapt to your own space, I’ve documented the entire garage-to-studio build process as a course. The course walks through every phase of the project — from early planning and structural decisions to execution, detailing, and future-proofing — using my own completed build as the reference, with methods verified by construction, HVAC, and structural professionals.
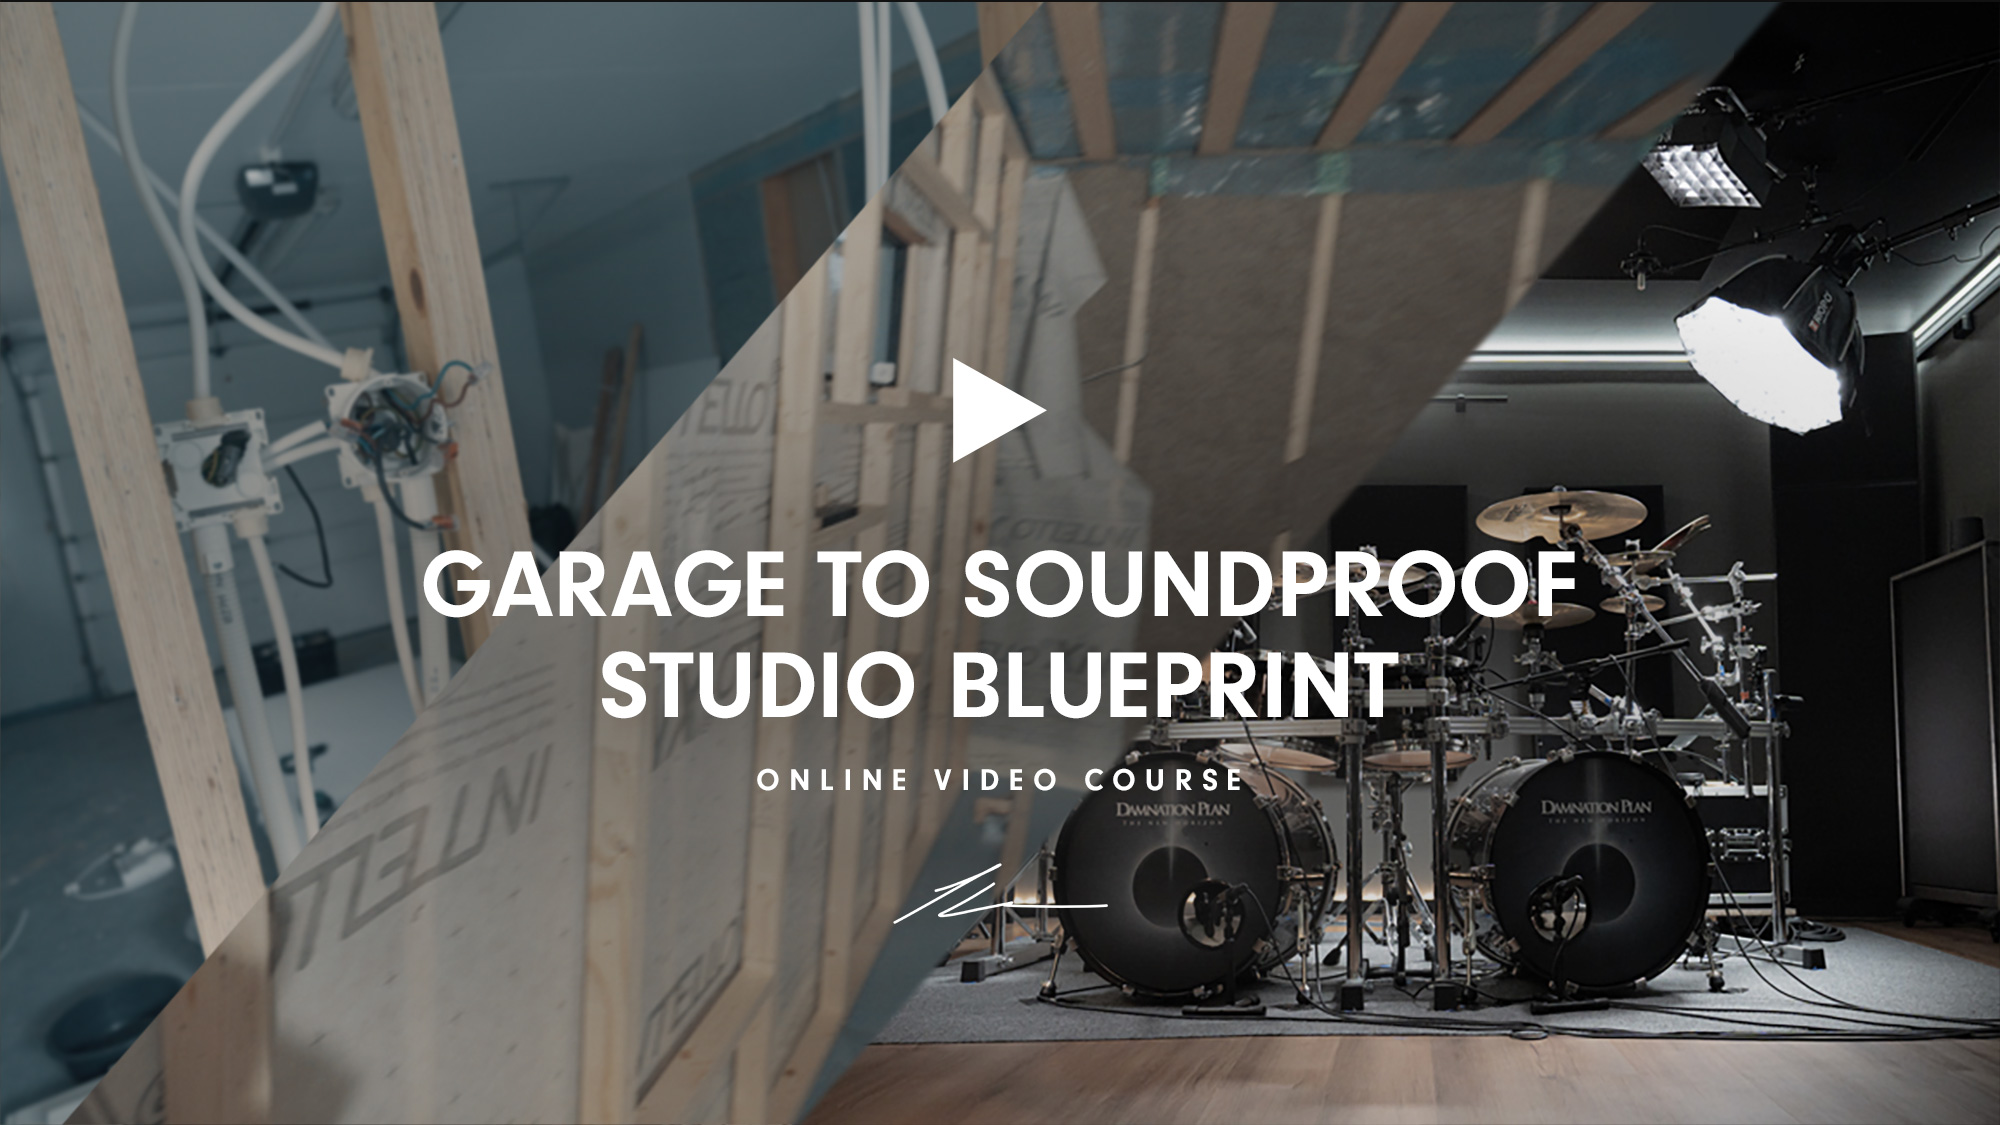
Watch the entire project unfold on video from start to finish, and get all my knowledge and learnings from the build, compressed to 7hours video course
→ Soundproof Studio Build Course (Watch Full EP1 For FREE):
https://www.jarkkolunnas.com/soundproof-studio-blueprint/
Episode 1 covers the planning and evaluation phase — the exact stage where most people are when they start researching this topic.
Final note
If you’re building your own drum room in a garage or detached building, the best thing you can do is: Build it as a complete system with a pre-plan covering everything from existing structure modifications to room-within-a-room build and ventilation before the project begins, and avoid spending money on “quick fixes” that don’t address structure, mass, airtightness and building health longetivity.
If you have questions leave a comment on any of my build videos, or email me jarkko(at)jlunnas(dot)com, I want to help as many as possible to do their soundproof build project succesfully.
Gain Access And Start Watching The Course:
More Articles
Frequently Asked Questions
Can I build a soundproof drum room in a regular garage?
Yes - a detached garage is one of the best starting points for drum-level sound isolation, provided it’s built using a room-within-a-room approach and proper ventilation. A standlone concrete slab is one of the best ways to isolate the floor.
Is acoustic foam enough to soundproof a drum room?
No. Acoustic foam treats reflections inside the room but does not stop sound from escaping. Structural isolation is required for drums.
How soundproof can a garage drum room realistically be?
With proper design and execution from all of the builds aspects, real-world isolation can reach levels comparable to professional studios. The embedded sound test above shows what’s achievable in practice.